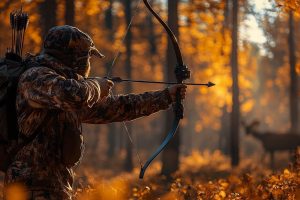
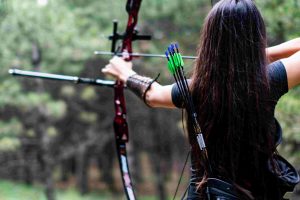
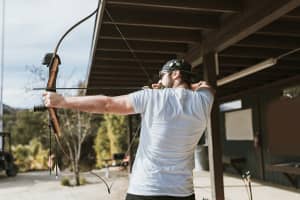
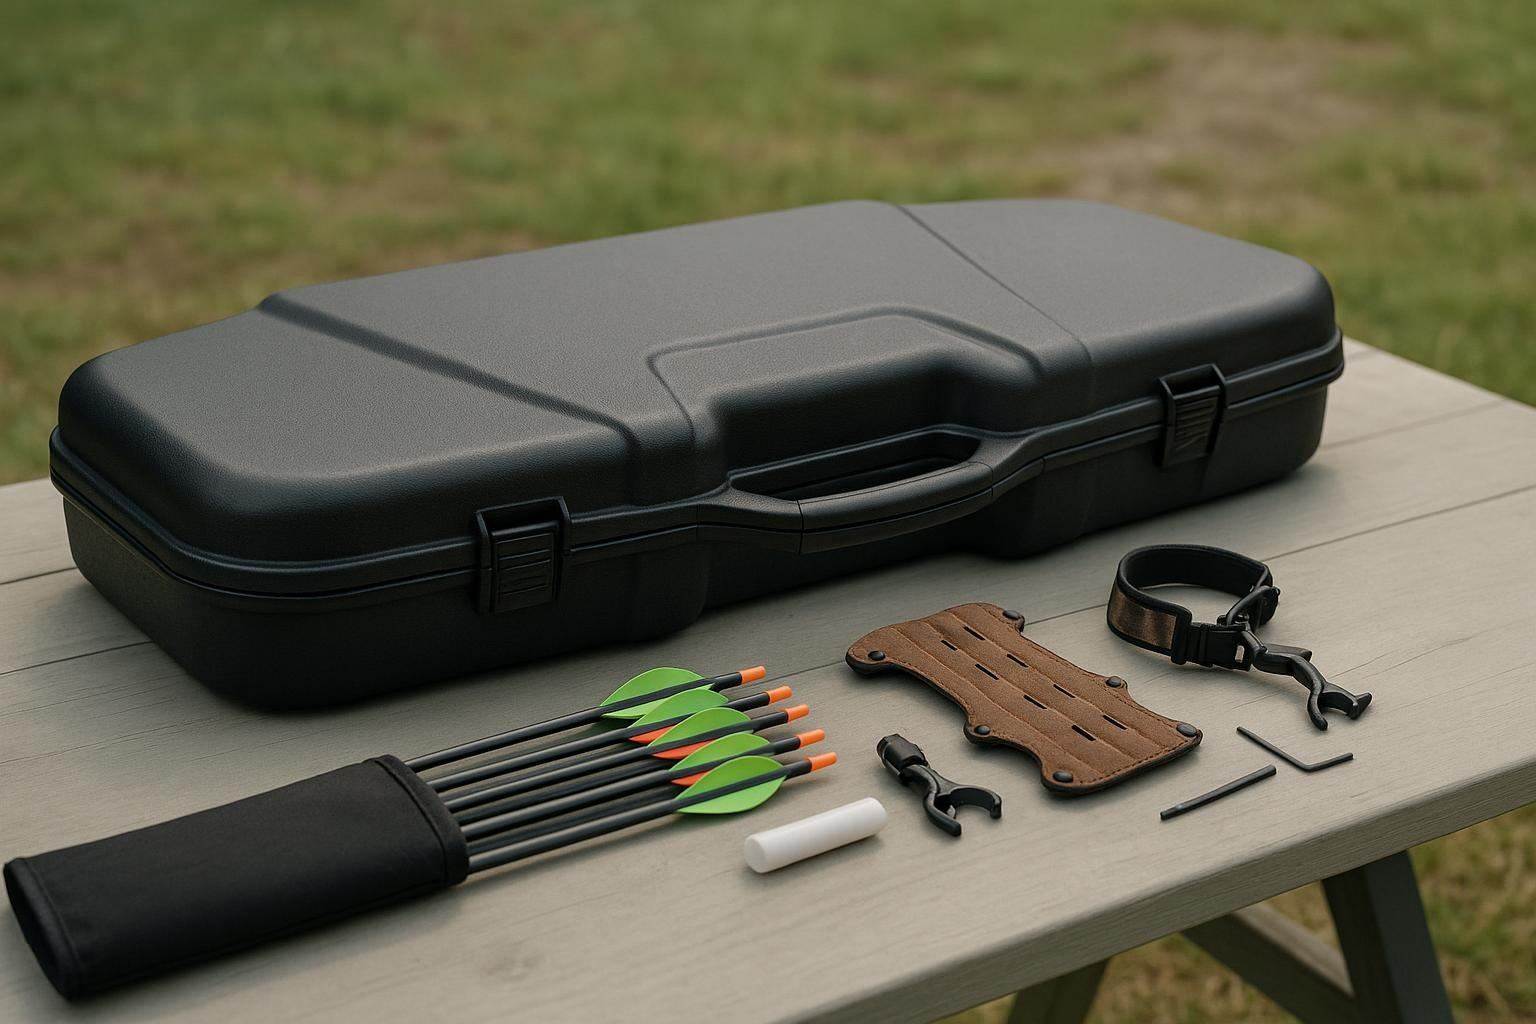
A bow that sat untouched for months may look ready while hiding a loose fastener, a changed sight reference or a form problem that appears only under pressure. A useful pre-season archery routine fits limited time by moving in order: inspect the equipment, rebuild form, tune the setup and practice realistic decisions. The goal is not simply to shoot more arrows, but to know what your bow and judgment can reliably support before a hunt.
Start with the setup, not the target
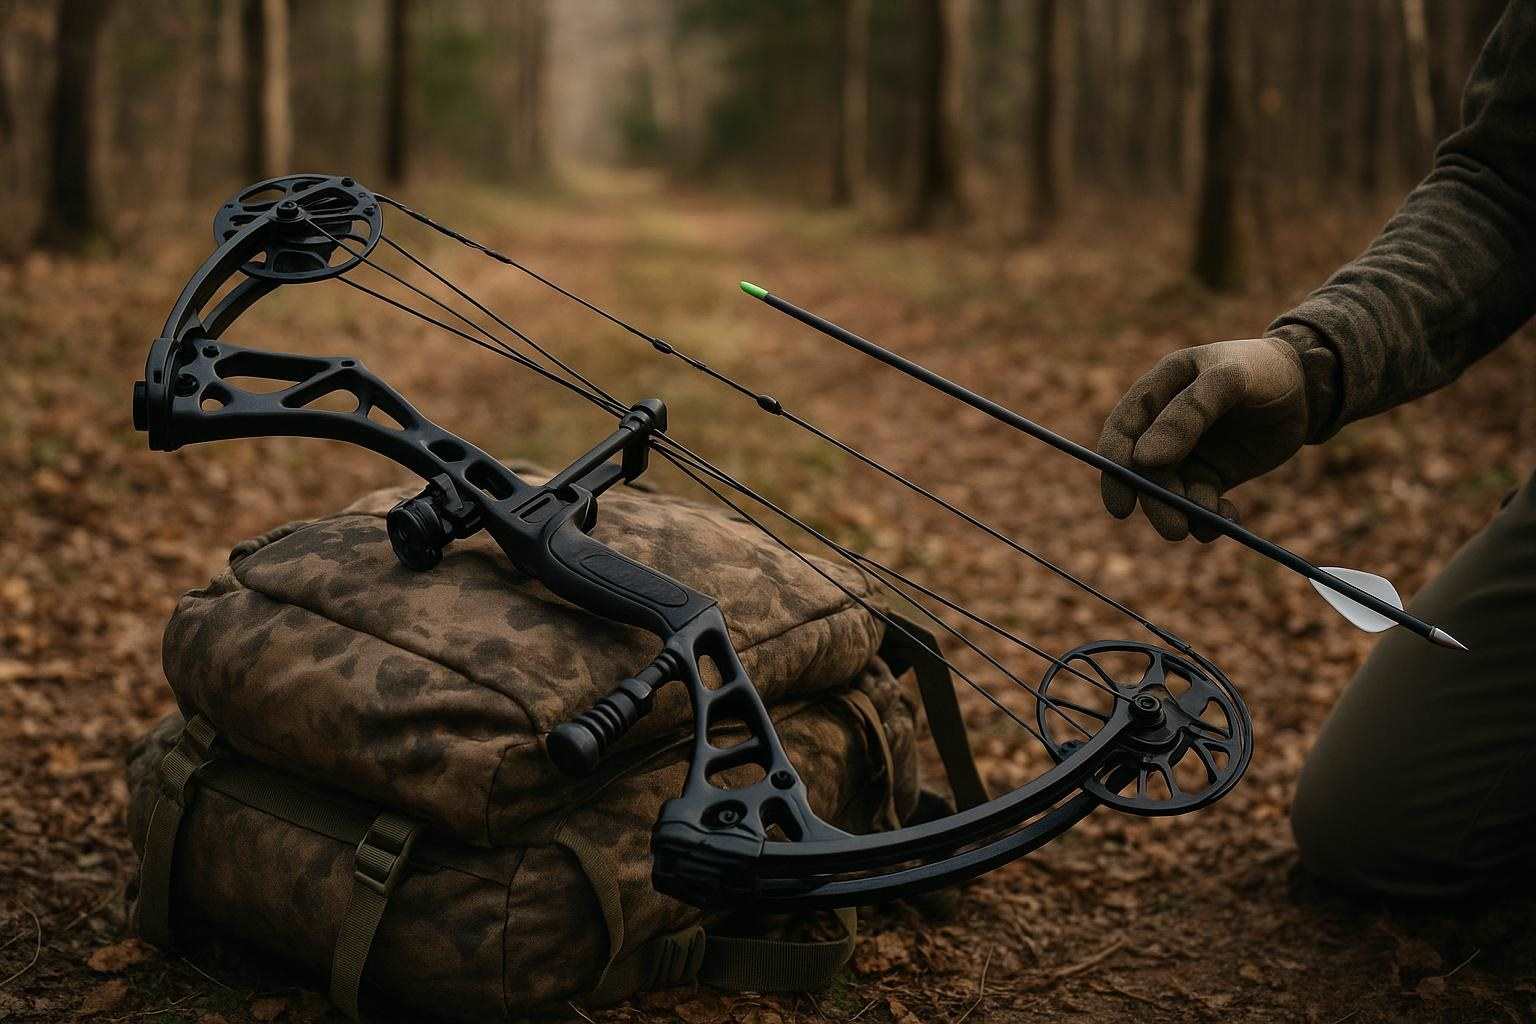
Unload the bow and inspect it in good light. Check the limbs, cams, strings, cables, serving, nocking point, rest, sight, stabilizer and fasteners. Frayed fibers, damaged serving, unusual cam noise, cracked accessories or a screw that will not stay snug require attention before practice continues. Do not attempt an unsafe repair or modify structural parts, cams or cables beyond your knowledge; use a qualified technician.
Inspect every arrow. Reject shafts with visible cracks, deep nicks, bent components or questionable inserts. Confirm consistent nock fit and secure broadheads when they are used for practice. Field points will not reveal every broadhead flight issue, so verify hunting heads separately and safely.
Record your sight marks, draw weight, arrow setup and any changes. This keeps memory from becoming part of troubleshooting.
Rebuild repeatable archery form
Start close to a large, forgiving target. Use a draw weight that allows a smooth draw, a steady hold and a controlled let-down. If you lean backward, collapse at the shoulder or rush the release, stop before fatigue turns the problem into a habit.
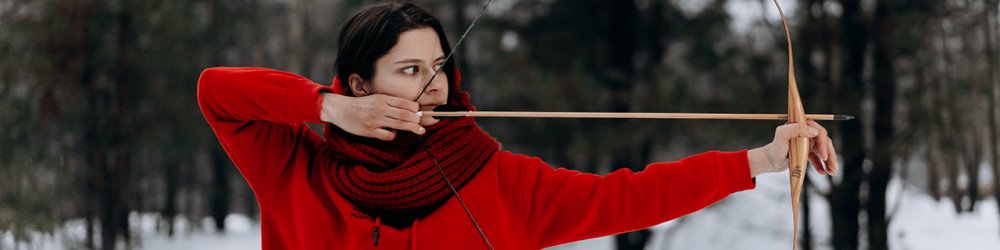
Check repeatable contact points: consistent grip pressure, the same anchor, a relaxed bow hand, level shoulders and a release that does not jerk the string. Film several draws from the side and behind if possible. Video may reveal a moving head, high front shoulder or bow arm that shifts after the shot. Correct one issue at a time.
Shoot small groups, then assess execution. A tight group created by inconsistent form is not a dependable standard. End the session when quality drops, even if you shoot fewer arrows than planned.
Tune in a deliberate order
Isolate changes. First confirm that the bow is mechanically sound and that draw length, draw weight and arrow configuration match the intended hunting setup. Set the rest and nocking point for the bow, check cam synchronization where applicable and establish a baseline before moving farther away.
Porpoising, fishtailing or inconsistent contact does not automatically call for a sight adjustment. Check vane contact, a loose rest, poor nock fit, a damaged arrow and inconsistent release first. Paper, walk-back and bare-shaft methods can provide useful diagnostic information, but their results depend on sound technique and suitable equipment; they do not prove every field condition has been solved.
After any meaningful change, confirm close-range impact before stepping back. Recheck broadhead flight with the settings you will use in the field. If field points group well but broadheads do not, solve the cause rather than adopting a separate aiming system.
Turn practice into field problems
When form and tuning are stable, make practice specific. Shoot from kneeling and seated positions, and wear clothing resembling your hunting layers. Draw without brushing the string against a sleeve, and hold only as long as you can remain controlled. Include a few shots after a short walk to see how breathing and an elevated heart rate affect execution.
Vary angle and distance within a range you can measure accurately. Use a clear routine: identify the target area, settle the pin, confirm the backstop and shoot only while movement remains calm. Do not make maximum distance the goal. Ask whether you can repeat the shot from that position, in those clothes and at that level of fatigue.
For deer bowhunting, rehearse the moments before the shot. Consider obstructions, the animal's position and alertness, and what lies beyond it. A target cannot reproduce those variables, but visualization can make the decision less hurried.
Set ethical shot decisions before the hunt
Decide your limits before an animal appears. Require a clear lane, stable stance, known distance, an angle your skill supports and enough time to draw without forcing movement. If one condition is missing, wait or pass.
Your effective range is the farthest distance at which you can repeatedly place arrows in the intended vital area under realistic conditions-not the farthest distance an arrow can reach a target. Weather, steep angles, heavy clothing, awkward footing and an elevated pulse can reduce it. Set a conservative limit and revise it only as practice demonstrates consistent performance.
An obscured target, sharply angled or moving animal, or uncertain backstop calls for restraint. A legal opportunity is not automatically a responsible shot.
Use one final readiness checklist
Before the first hunt, confirm:
– Bow, arrows, release aid and accessories are free of damage or looseness.
– String, cables, serving, cams and rest were checked after the last tuning change.
– Sight marks match the hunting arrow setup.
– Broadheads are secure and fly consistently.
– Clothing, pack and treestand or ground setup were included in practice.
– Current local regulations were reviewed through the relevant official wildlife agency.
– Personal shot limit, minimum conditions and recovery plan are set.
Regulations vary by location, season, equipment and game species. Confirm official guidance before hunting, including licensing, legal equipment, season dates, tagging and restrictions on broadheads or locations.
Preparation is successful when it establishes a clear boundary: knowing when the bow is ready, when form is slipping and when the responsible choice is to lower the bow. That boundary makes practice honest and field decisions defensible.